Don’t Stop Believing

For this week’s post, we are sharing the work we did in the kitchen. I thought that by now I’d be sharing a kitchen that looked much different. In fact, one week before the COVID-19 lock-down, we had contractors in our home and working up quotes for a complete gut and remodel. We thought that we would have an entirely new kitchen by August. At this point, our dream of a new kitchen this year is slowly burning down in the dumpster fire that is 2020. Here’s to 2021!

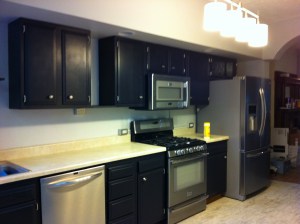
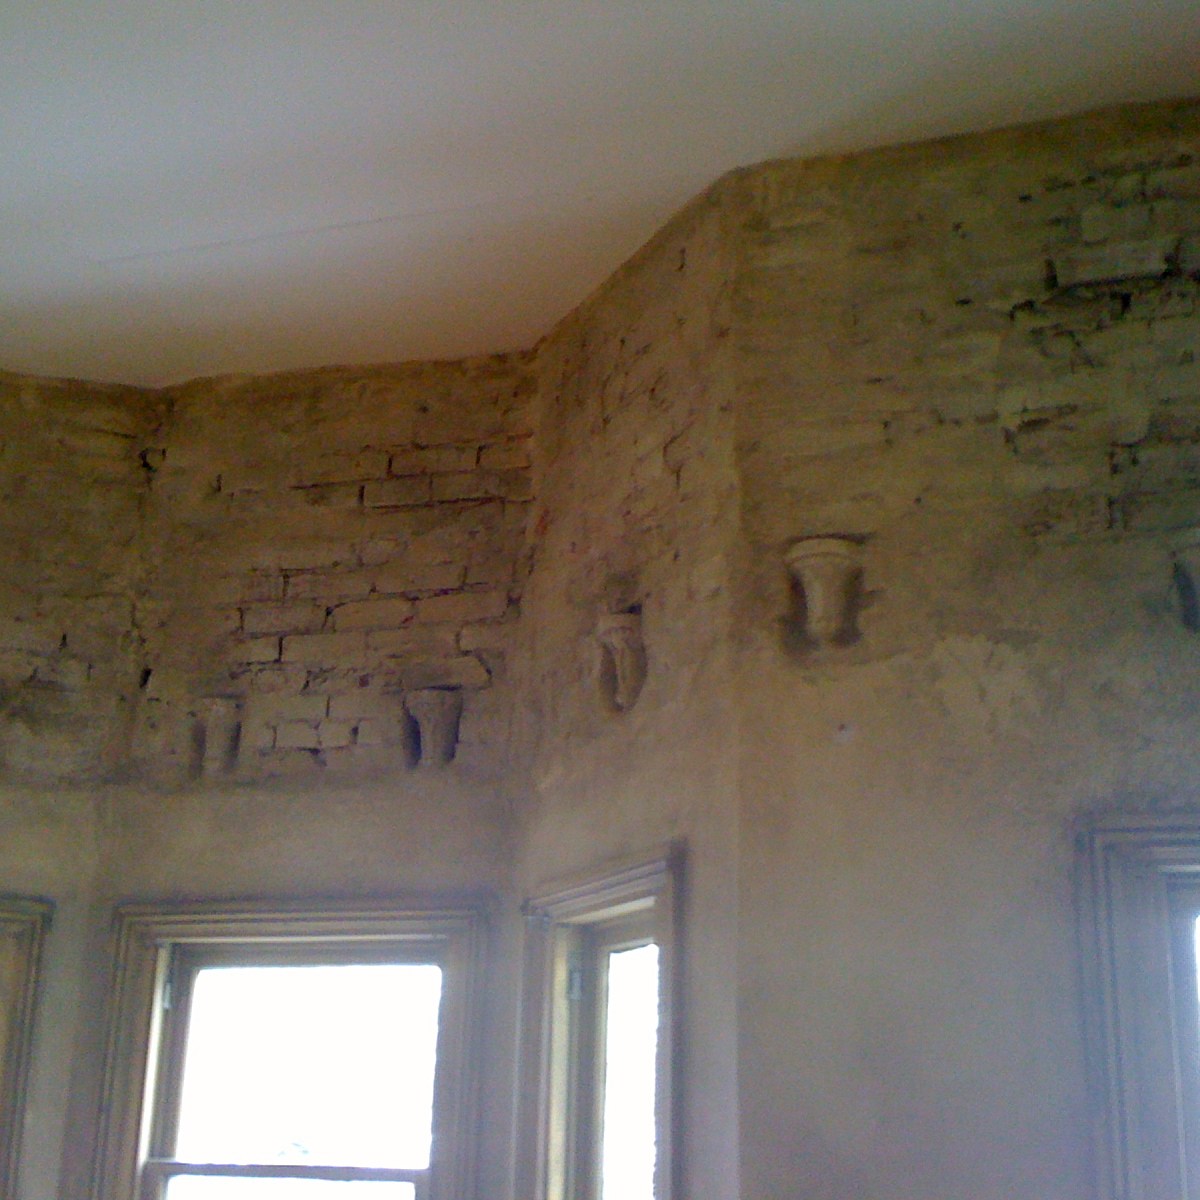
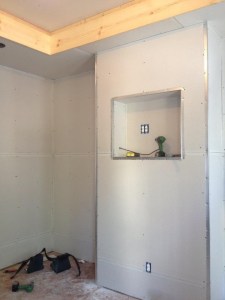
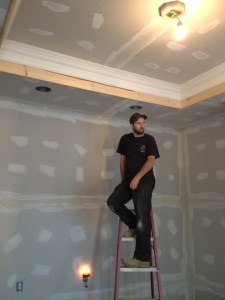
Let’s start out like we always do, with some very blurry, poorly lit before photos.

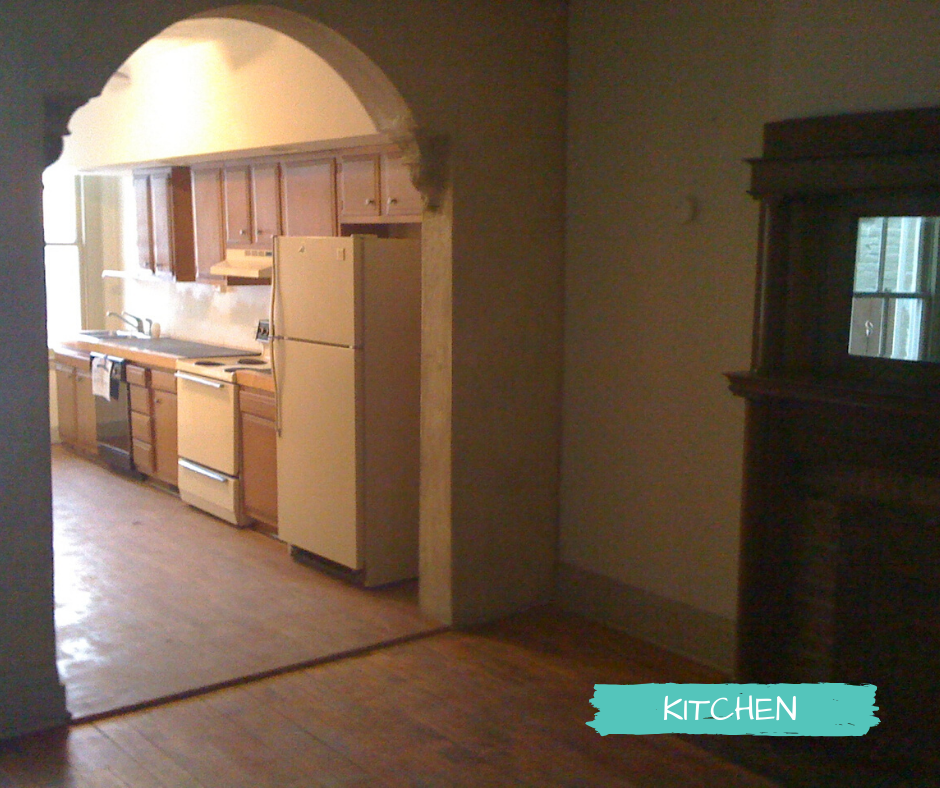
And here’s my blog post from 9 years ago…

This past weekend saw a flurry of activity at the money pit! I think there may have been 20+ people crammed in our house at one point on Saturday!!

On Friday evening, my father and I did a walkthrough and started to create a punch list of “things to be done.” This list is HUGE.  The list grew on Saturday morning when he went through the house once more with Jeffrey.

After a quick trip to Lowes and Home Depot, we realized that we were going to do a down and dirty (emphasis on the dirty) remodel to the kitchen.  So we purchased a cheap countertop that I find not completely offensive, a sink, a faucet, and other stuff that I can’t identify.  Appliances were also arriving that afternoon and we had a LOT to do.

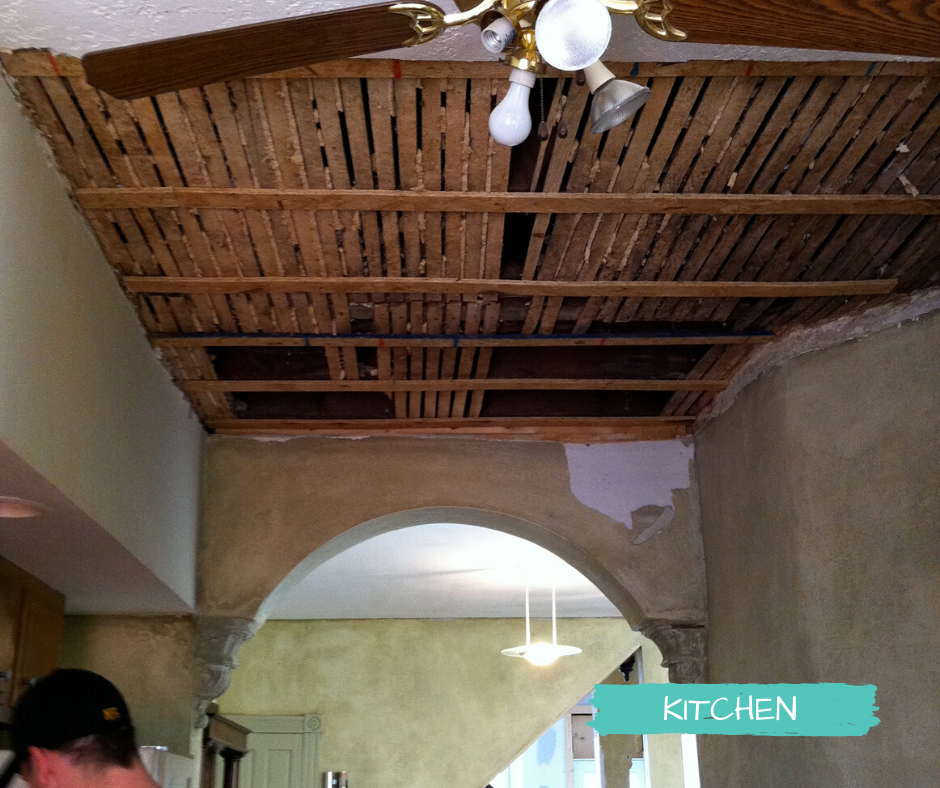
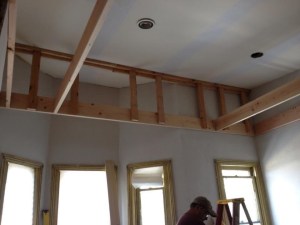
Jeff’s parents, Jim and Sheila, arrived and along with Jeff and my father and mother, they quickly got to work. Work that is difficult, dirty, and sadly, goes unnoticed. Cleaning, running new dedicated lines of electricity, and reworking some very old plumbing.

By 10:30 that morning so much progress had already been made.


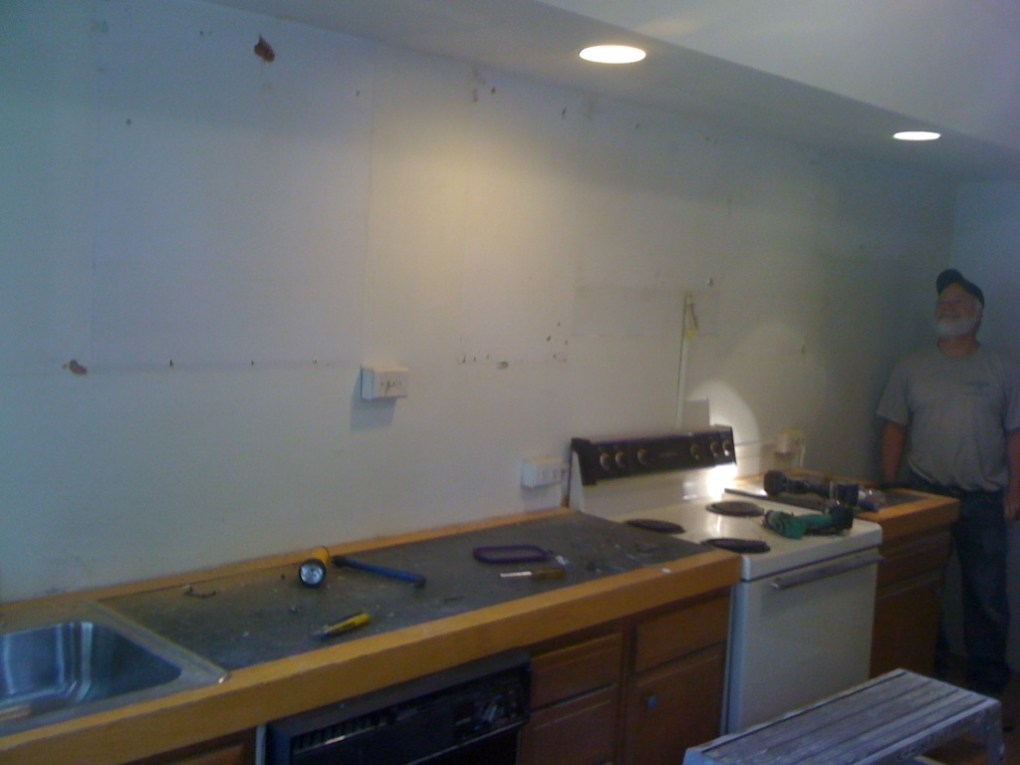
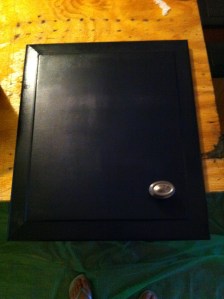
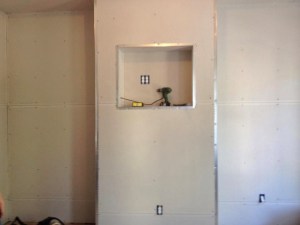
With cabinets getting removed, it was time to tackle the countertop.  For months we have speculated about what in the heck the countertop was made of…we never did come up with a viable answer, but one thing was certain – it needed to go!!

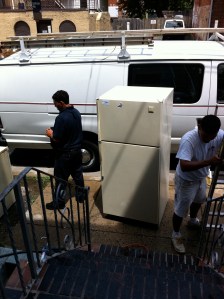
Next to go were the appliances. There are no words to describe that that old refrigerator smelled like, but there is a giphy that accurately represents my reaction when I first opened that door…

Out with the old, in with the new!

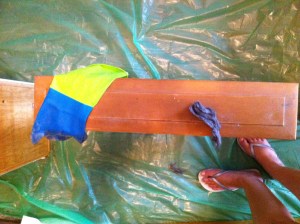
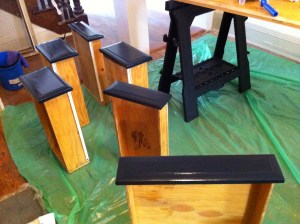
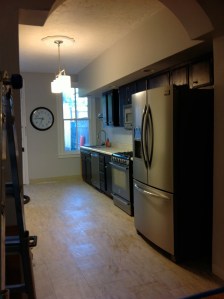
Jeff and I spent the remainder of the week painting the walls, the trim and the refinishing the cabinets.

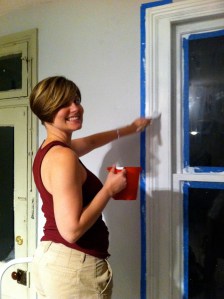
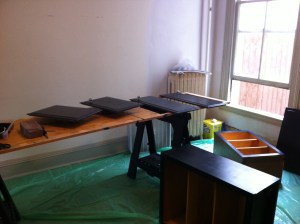
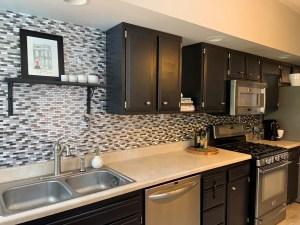
It was really starting to look decent in there.

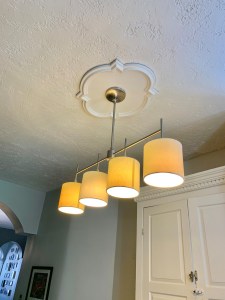
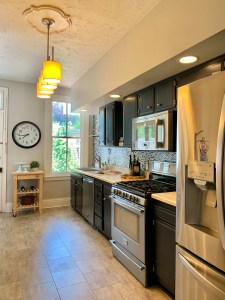
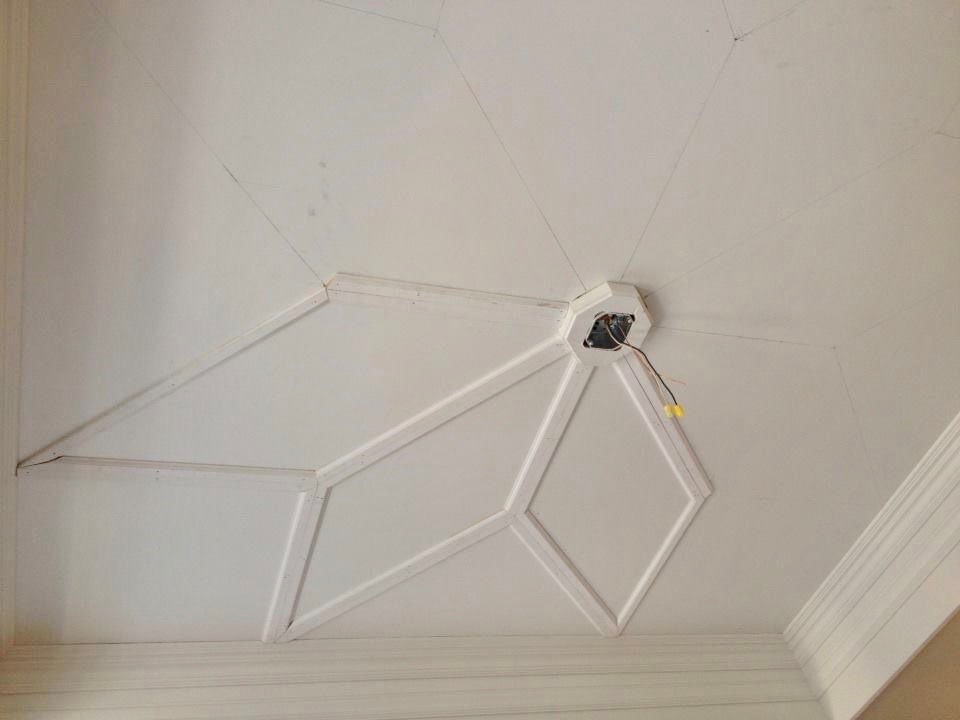
My parents were back in town over the 4th of July holiday weekend and we all spent the weekend, including the 4th working our butts off. New flooring, new lighting and more cleaning. We did a peel and stick floor tile to save a bunch of money, but I did splurge a little on a ceiling medallion and light fixtures. Not our dream kitchen, but it would do for now.

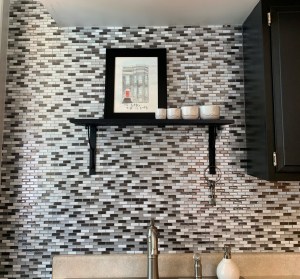
So that was exactly 9 years ago this weekend and not much has changed. We have new fridge and a few years ago, I was on the peel and stick tile train and did a backsplash. Not too shabby for $250 and 3 hours of work. It turned out quite well.

I hope that I’ll be writing a blog about our new kitchen sooner than later. For now, visions of double ovens and pot fillers will keep dancing in my head until they can be installed. I won’t stop believing that this project will actually happen.


Sweet Dreams are Made of These

Our third and final room upstairs is the master bedroom. As I mentioned in an earlier post, it was 3 years after we purchased the house before we started work on this room. There was so much work to be done.

Plaster had been applied to all of the walls and painted in yellow, brown, and gray. Sorry for the terrible photos, but think Olive Garden late 90’s. That was the vibe in this room. I love breadsticks and endless bowls of salad as much as the next gal, but I certainly don’t need to be thinking about food when I’m trying to go to sleep.

I’m certain that I’m just standing there thinking about wallpaper in that picture : )

We had all of the plaster removed and that little closet in the corner was torn out as well. Removing the plaster was a horribly messy job and was done before we moved into the house. The room served as a storage/work area while other rooms were being remodeled.

It is a good thing that we waited to get started on this room as a heavy storm revealed that our roof wasn’t in the best condition. New roof = smaller budget for the bedroom.

Fast forward 3 years and we were ready to get to it. You might have noticed that the ceiling was really high. While it was nice to have a vaulted ceiling, it was wasted space and there was no insulation in the room. We lowered the ceiling and added much-needed insulation.

The vaulted ceiling allowed for us to easily add a tray into the center. Knowing that due to my insomnia, I’d be spending hours on end looking up at this tray ceiling, I wanted to have something worth looking at. I came up with a design and my brother, Josh, brought it to life. I joke that if we move, I’m taking this ceiling with me. I’ll reveal the final design later in the blog.

As for the rest of the room, we removed the horsehair plaster, put up new drywall, and installed can lights. I really do love drywall. If you live in a historic row home, you know the struggle of attempting to hang a simple picture with a nail on a plaster wall.

Like most older homes, this one came with little to no storage and we had ripped out the two tiny closets that were here. My father built these custom built-ins for the master bedroom and they are just about perfect.

One last touch to this room was wallpaper. You can’t go wrong with damask. This print has a shine to it that instantly caught my eye. I’ve always been a fan of Thibault Wallpaper. Their prints are classic with just the right touch of modern. This one is Arturo Damask in Metallic Silver from the Monterey Collection.

For the rest of the walls, we went with Dove’s Cry by Valspar. This is one of those perfect colors that can go tan or grey depending on the room and the light. Plus, how perfect is that name??

Now for some after photos.

I know I’m a broken record when it comes to having big ideas and a small budget, but I truly believe that you can bring your vision to life without breaking the bank. Here’s how I saved a bunch of money in this room.

  1. The wallpaper. I only did an accent wall. This saved on the cost of materials and labor.
  2. The bed – I picked up our headboard at a Restoration Hardware outlet. I saved 60% off the retail price.
  3. Those little nightstands – I found them at Gabe’s of all places. Don’t sleep on places like Gabe’s – you can find some great, cheap things there.
  4. The comfy corner chair and the accent pillows – HomeGoods finds.
  5. Euro shams and sheets are from IKEA.
  6. Curtains – I desperately wanted to have curtains custom made in the material that matched the wallpaper, but that wasn’t going to happen. I found these at TJMaxx, they went really well with the wallpaper, but they were too short. I purchased a few yards of linen fabric that matched the headboard and added it to the bottom.

My sweet dreams are coming true as we renovate this home. Next week, we will move to the main living area that is still work in progress and more fodder for my dreams.